Pico W Light Show

Kwame Glover

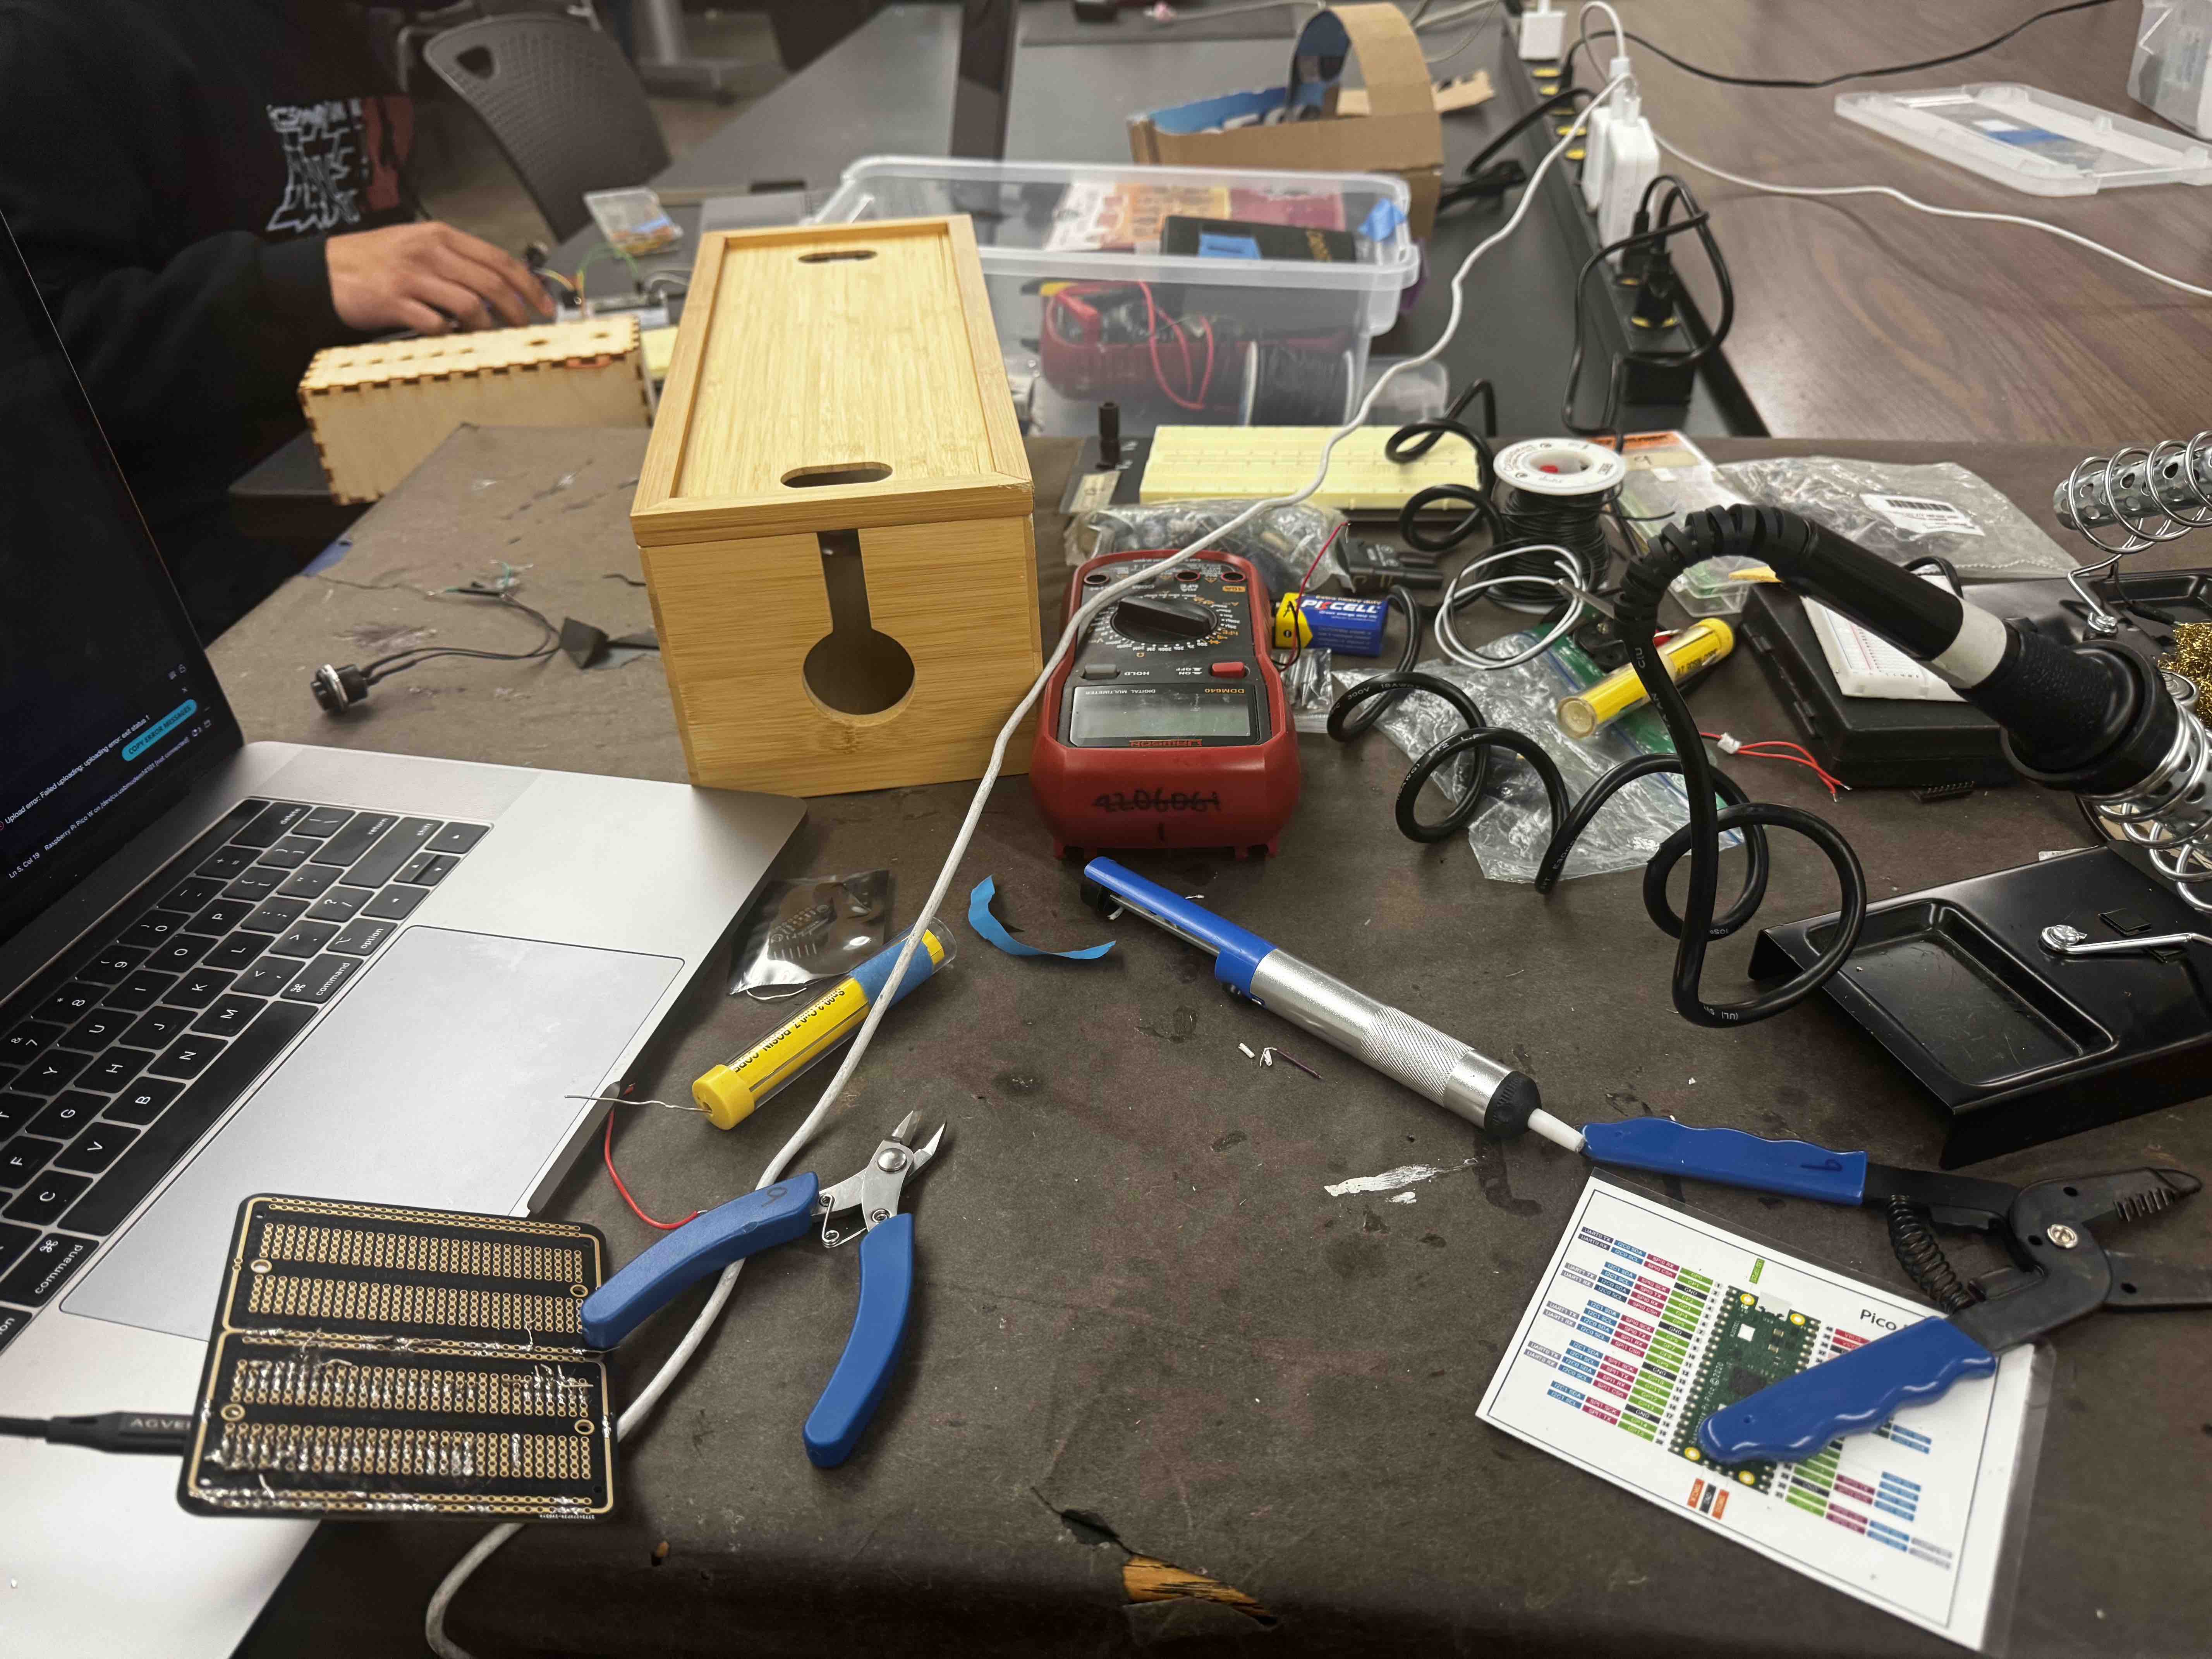
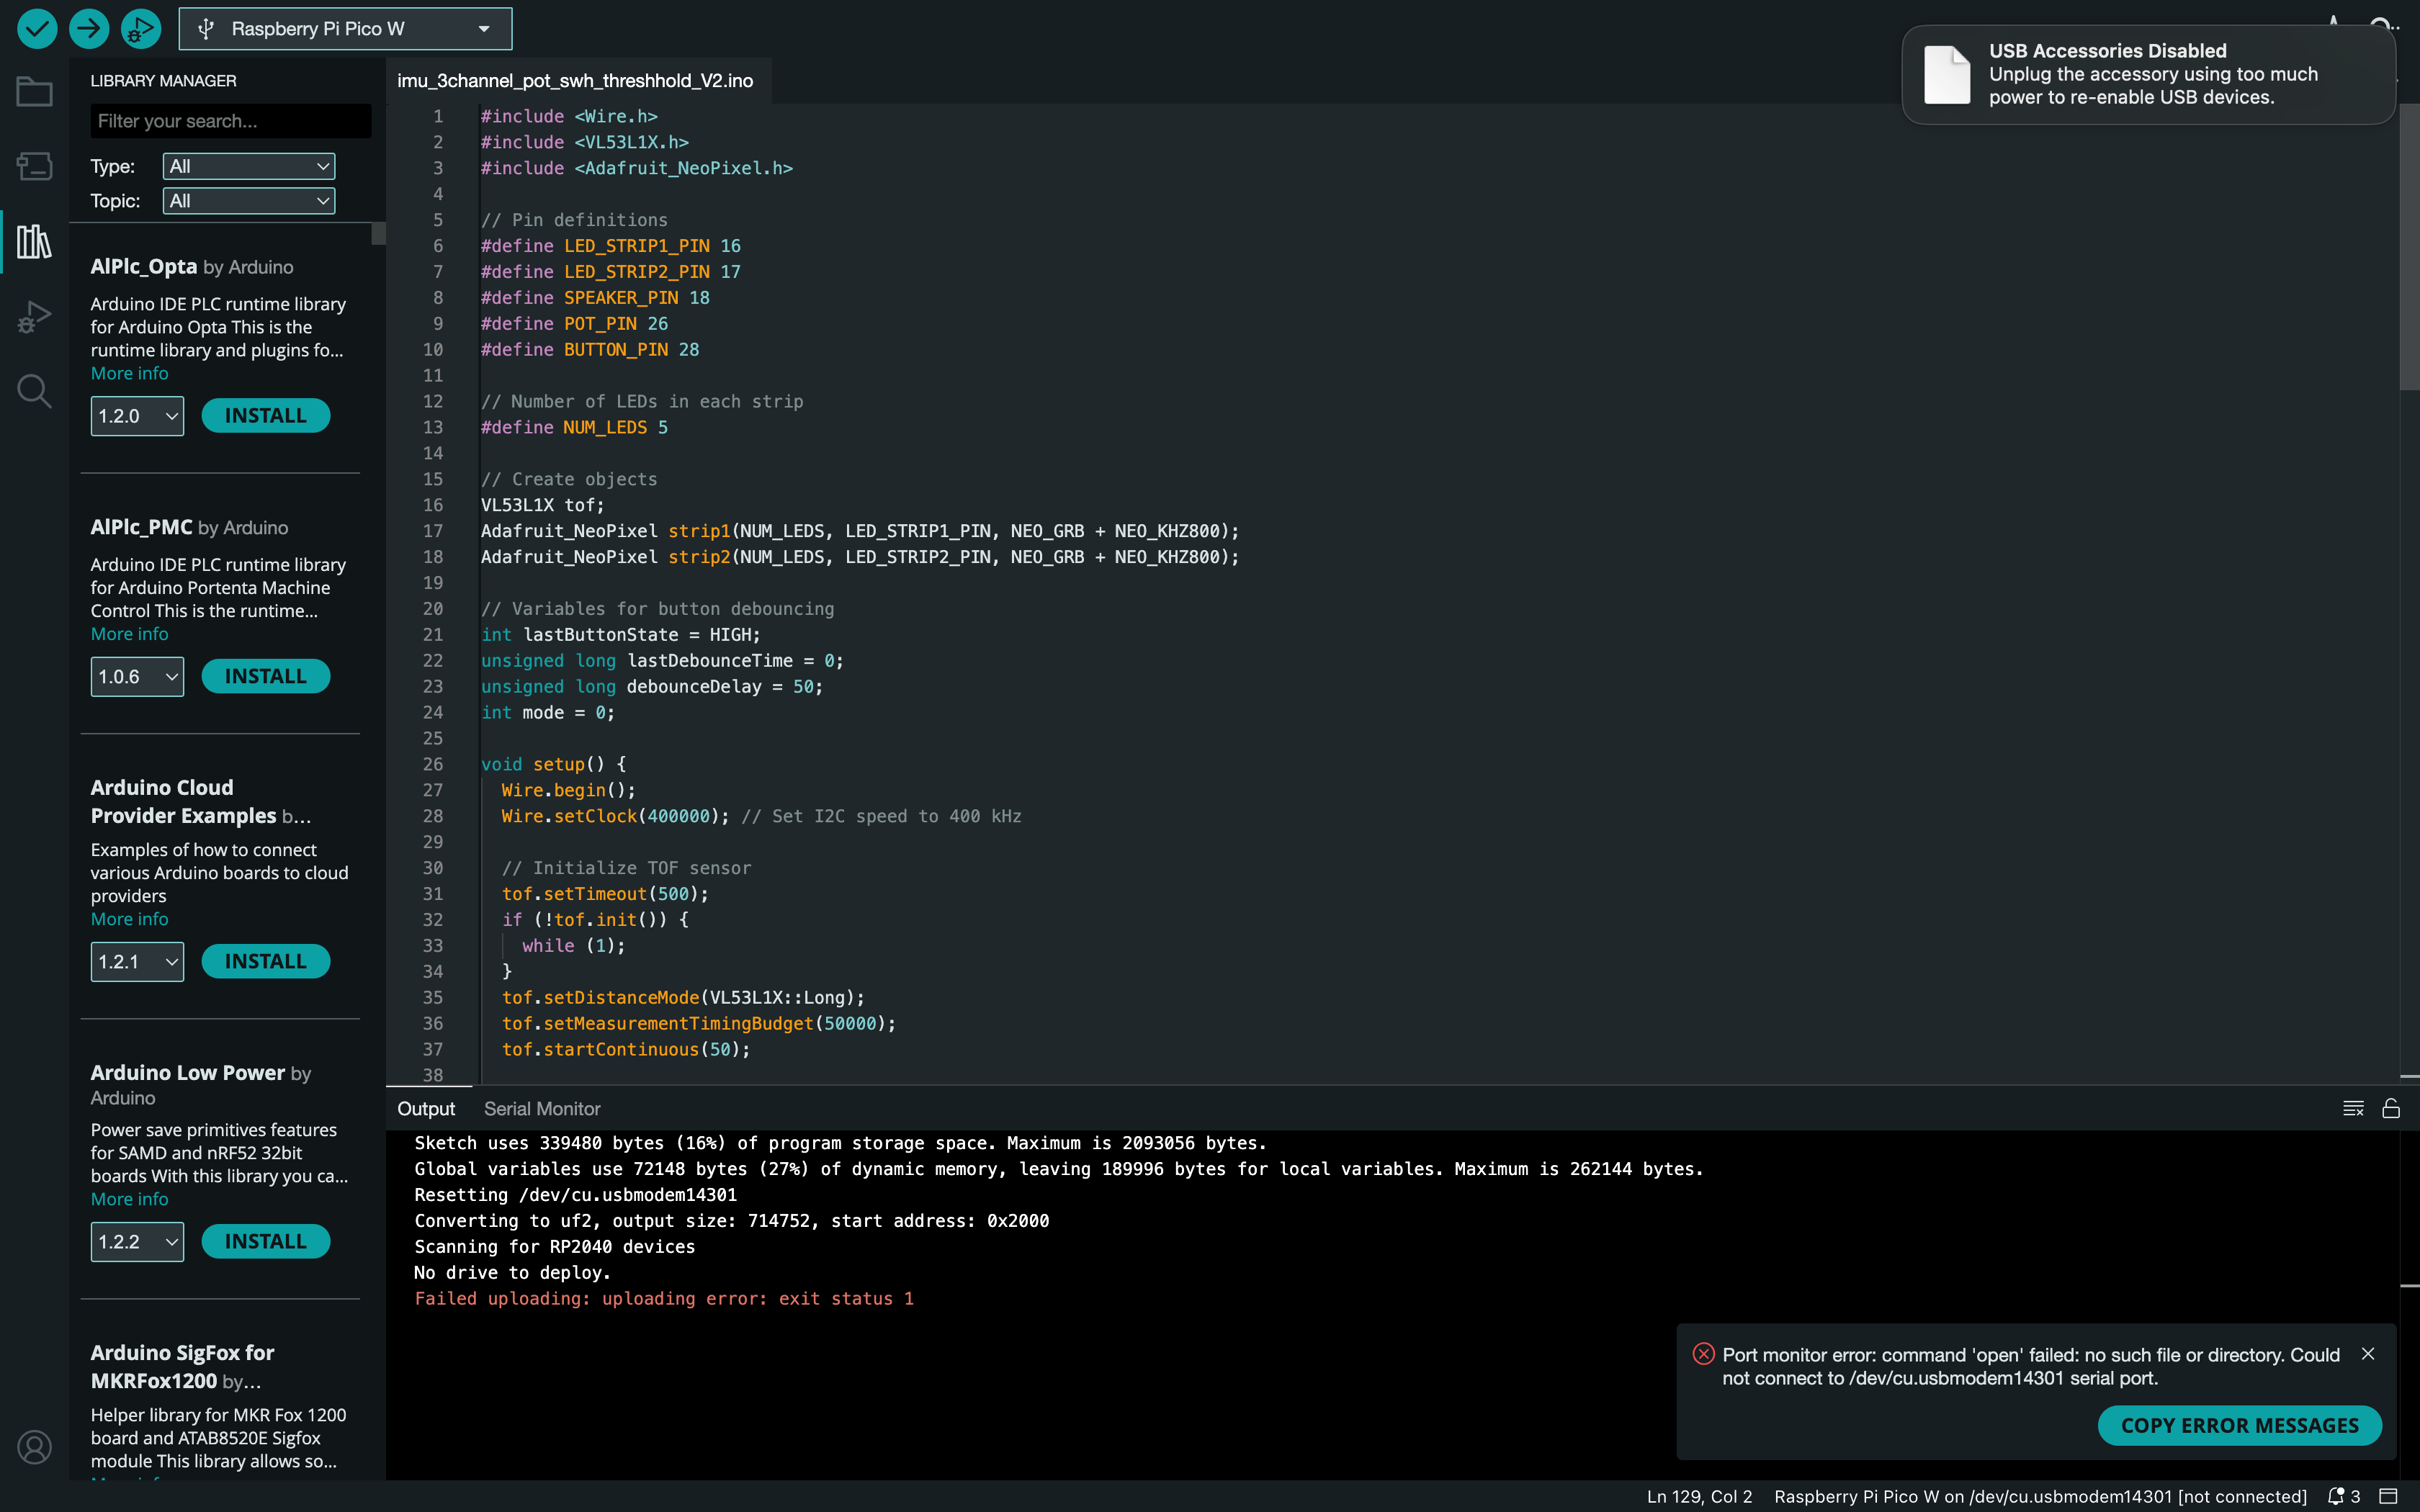
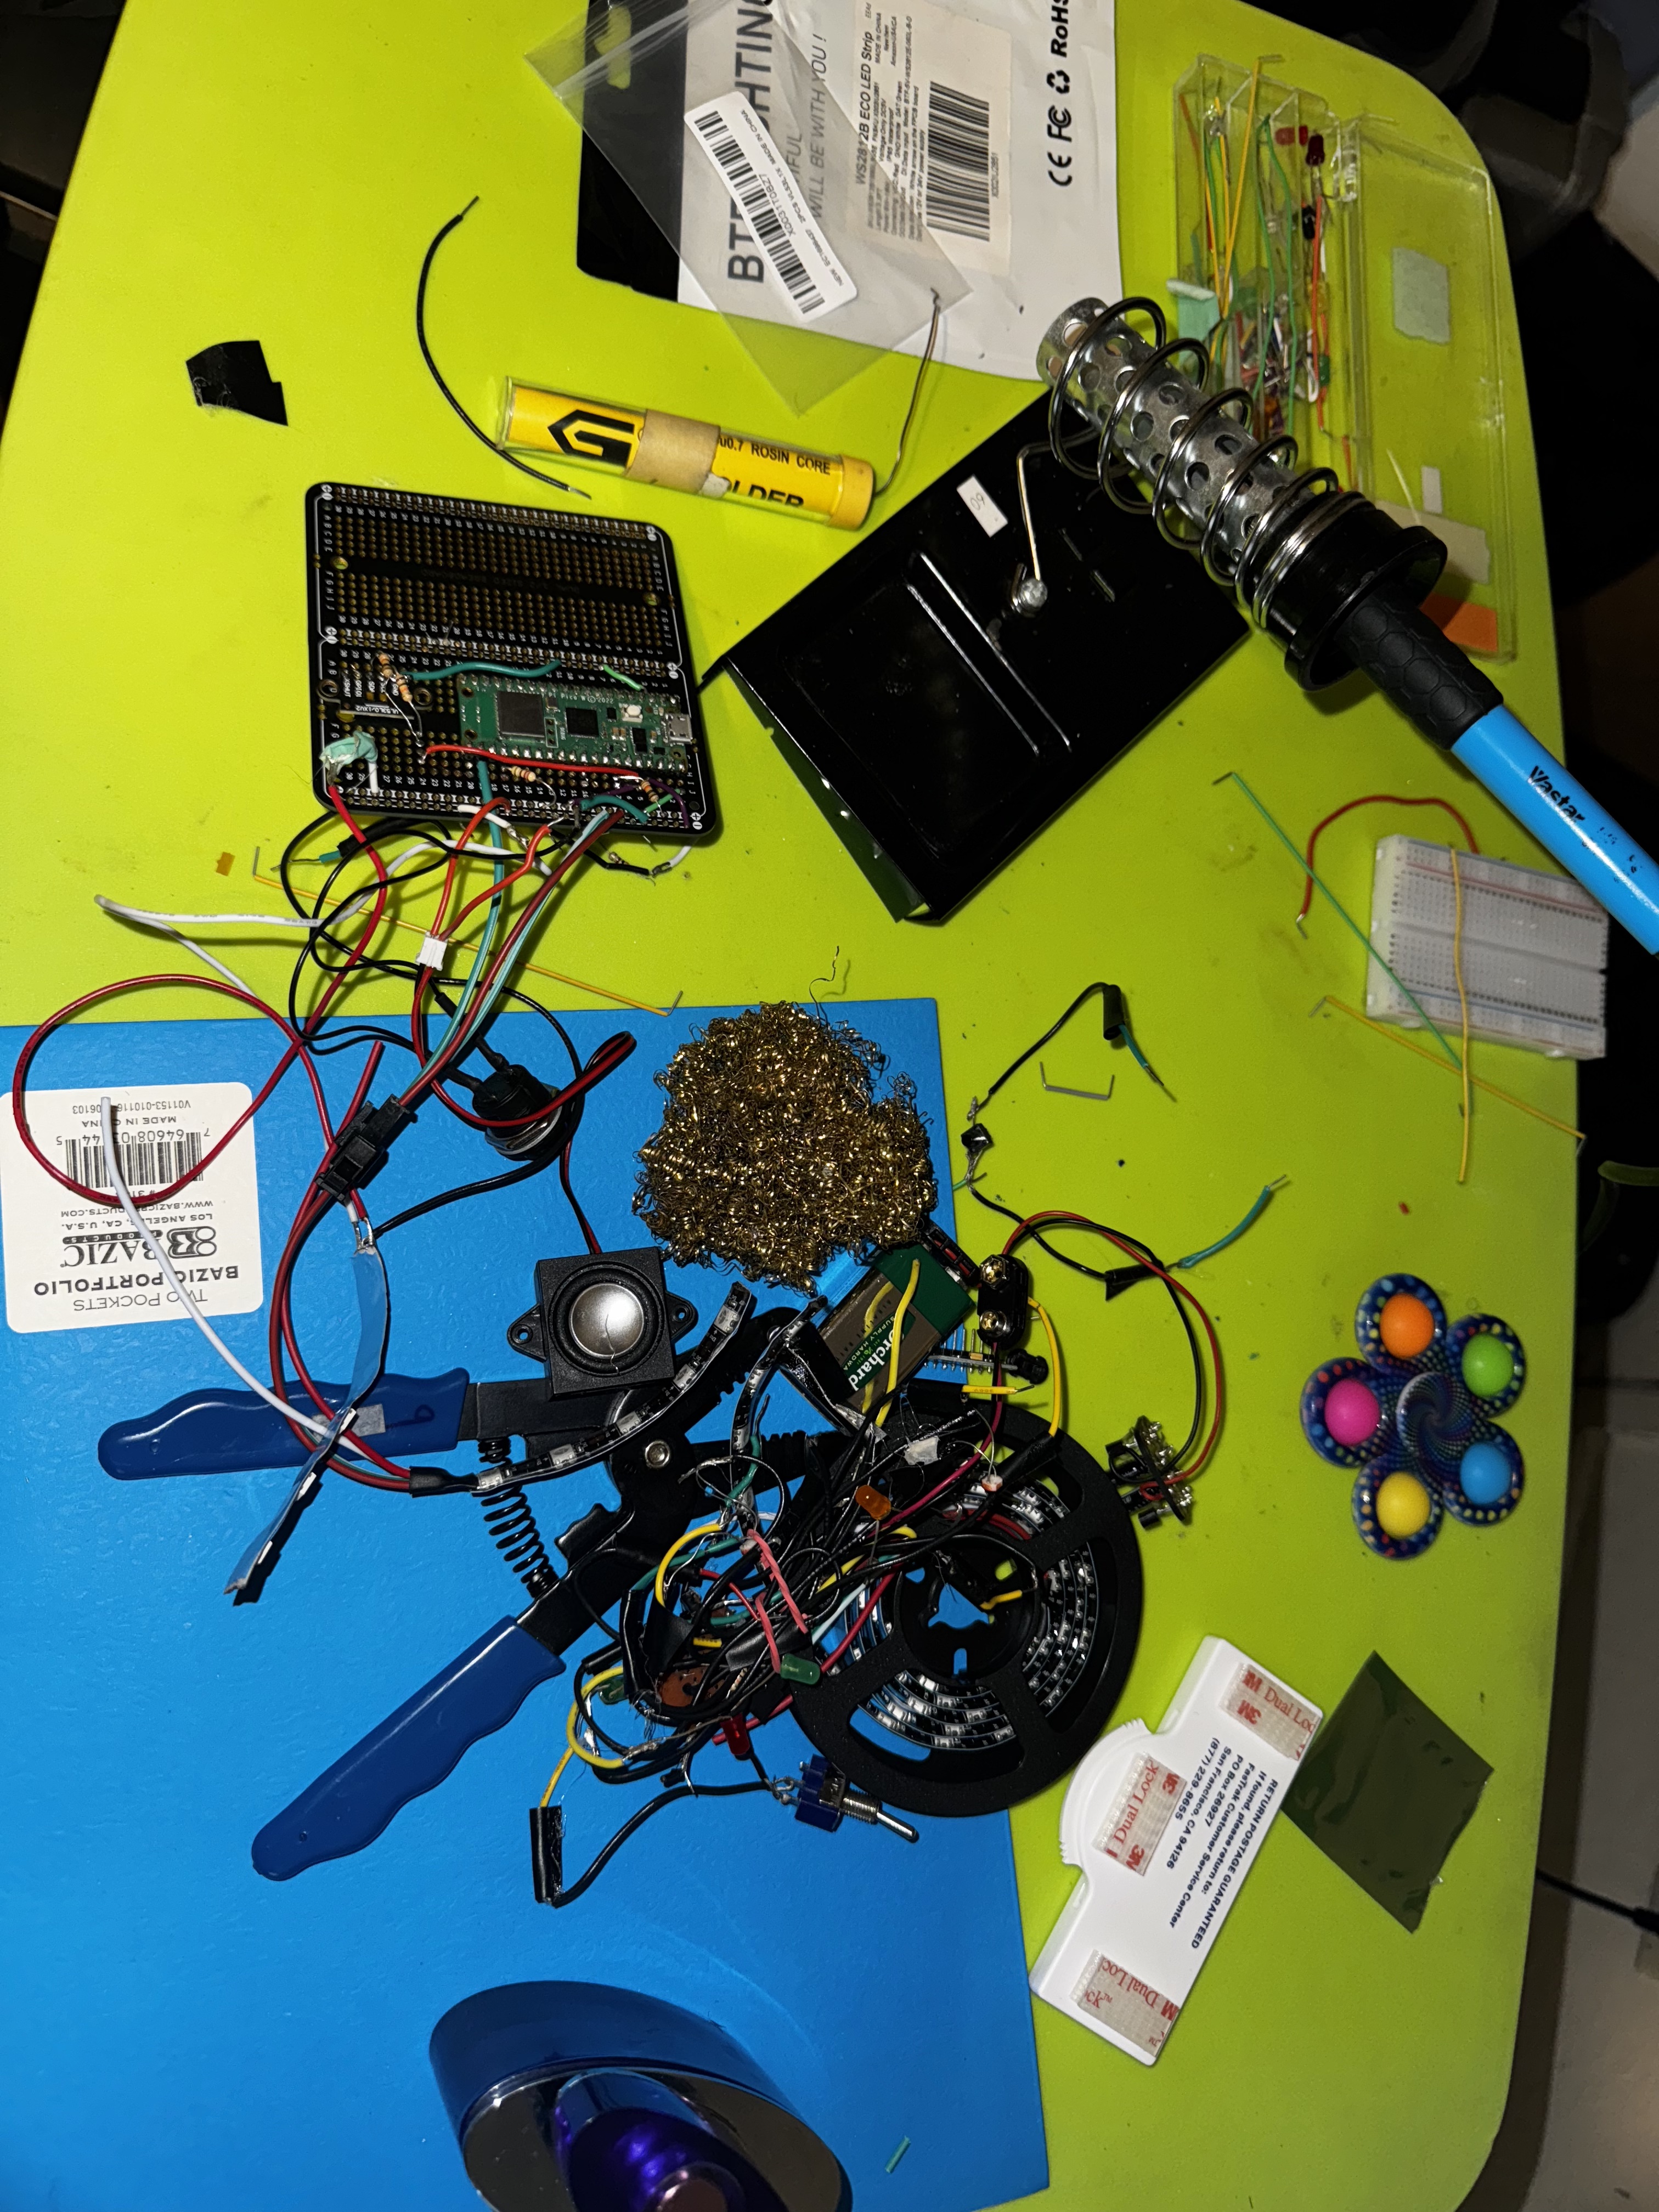
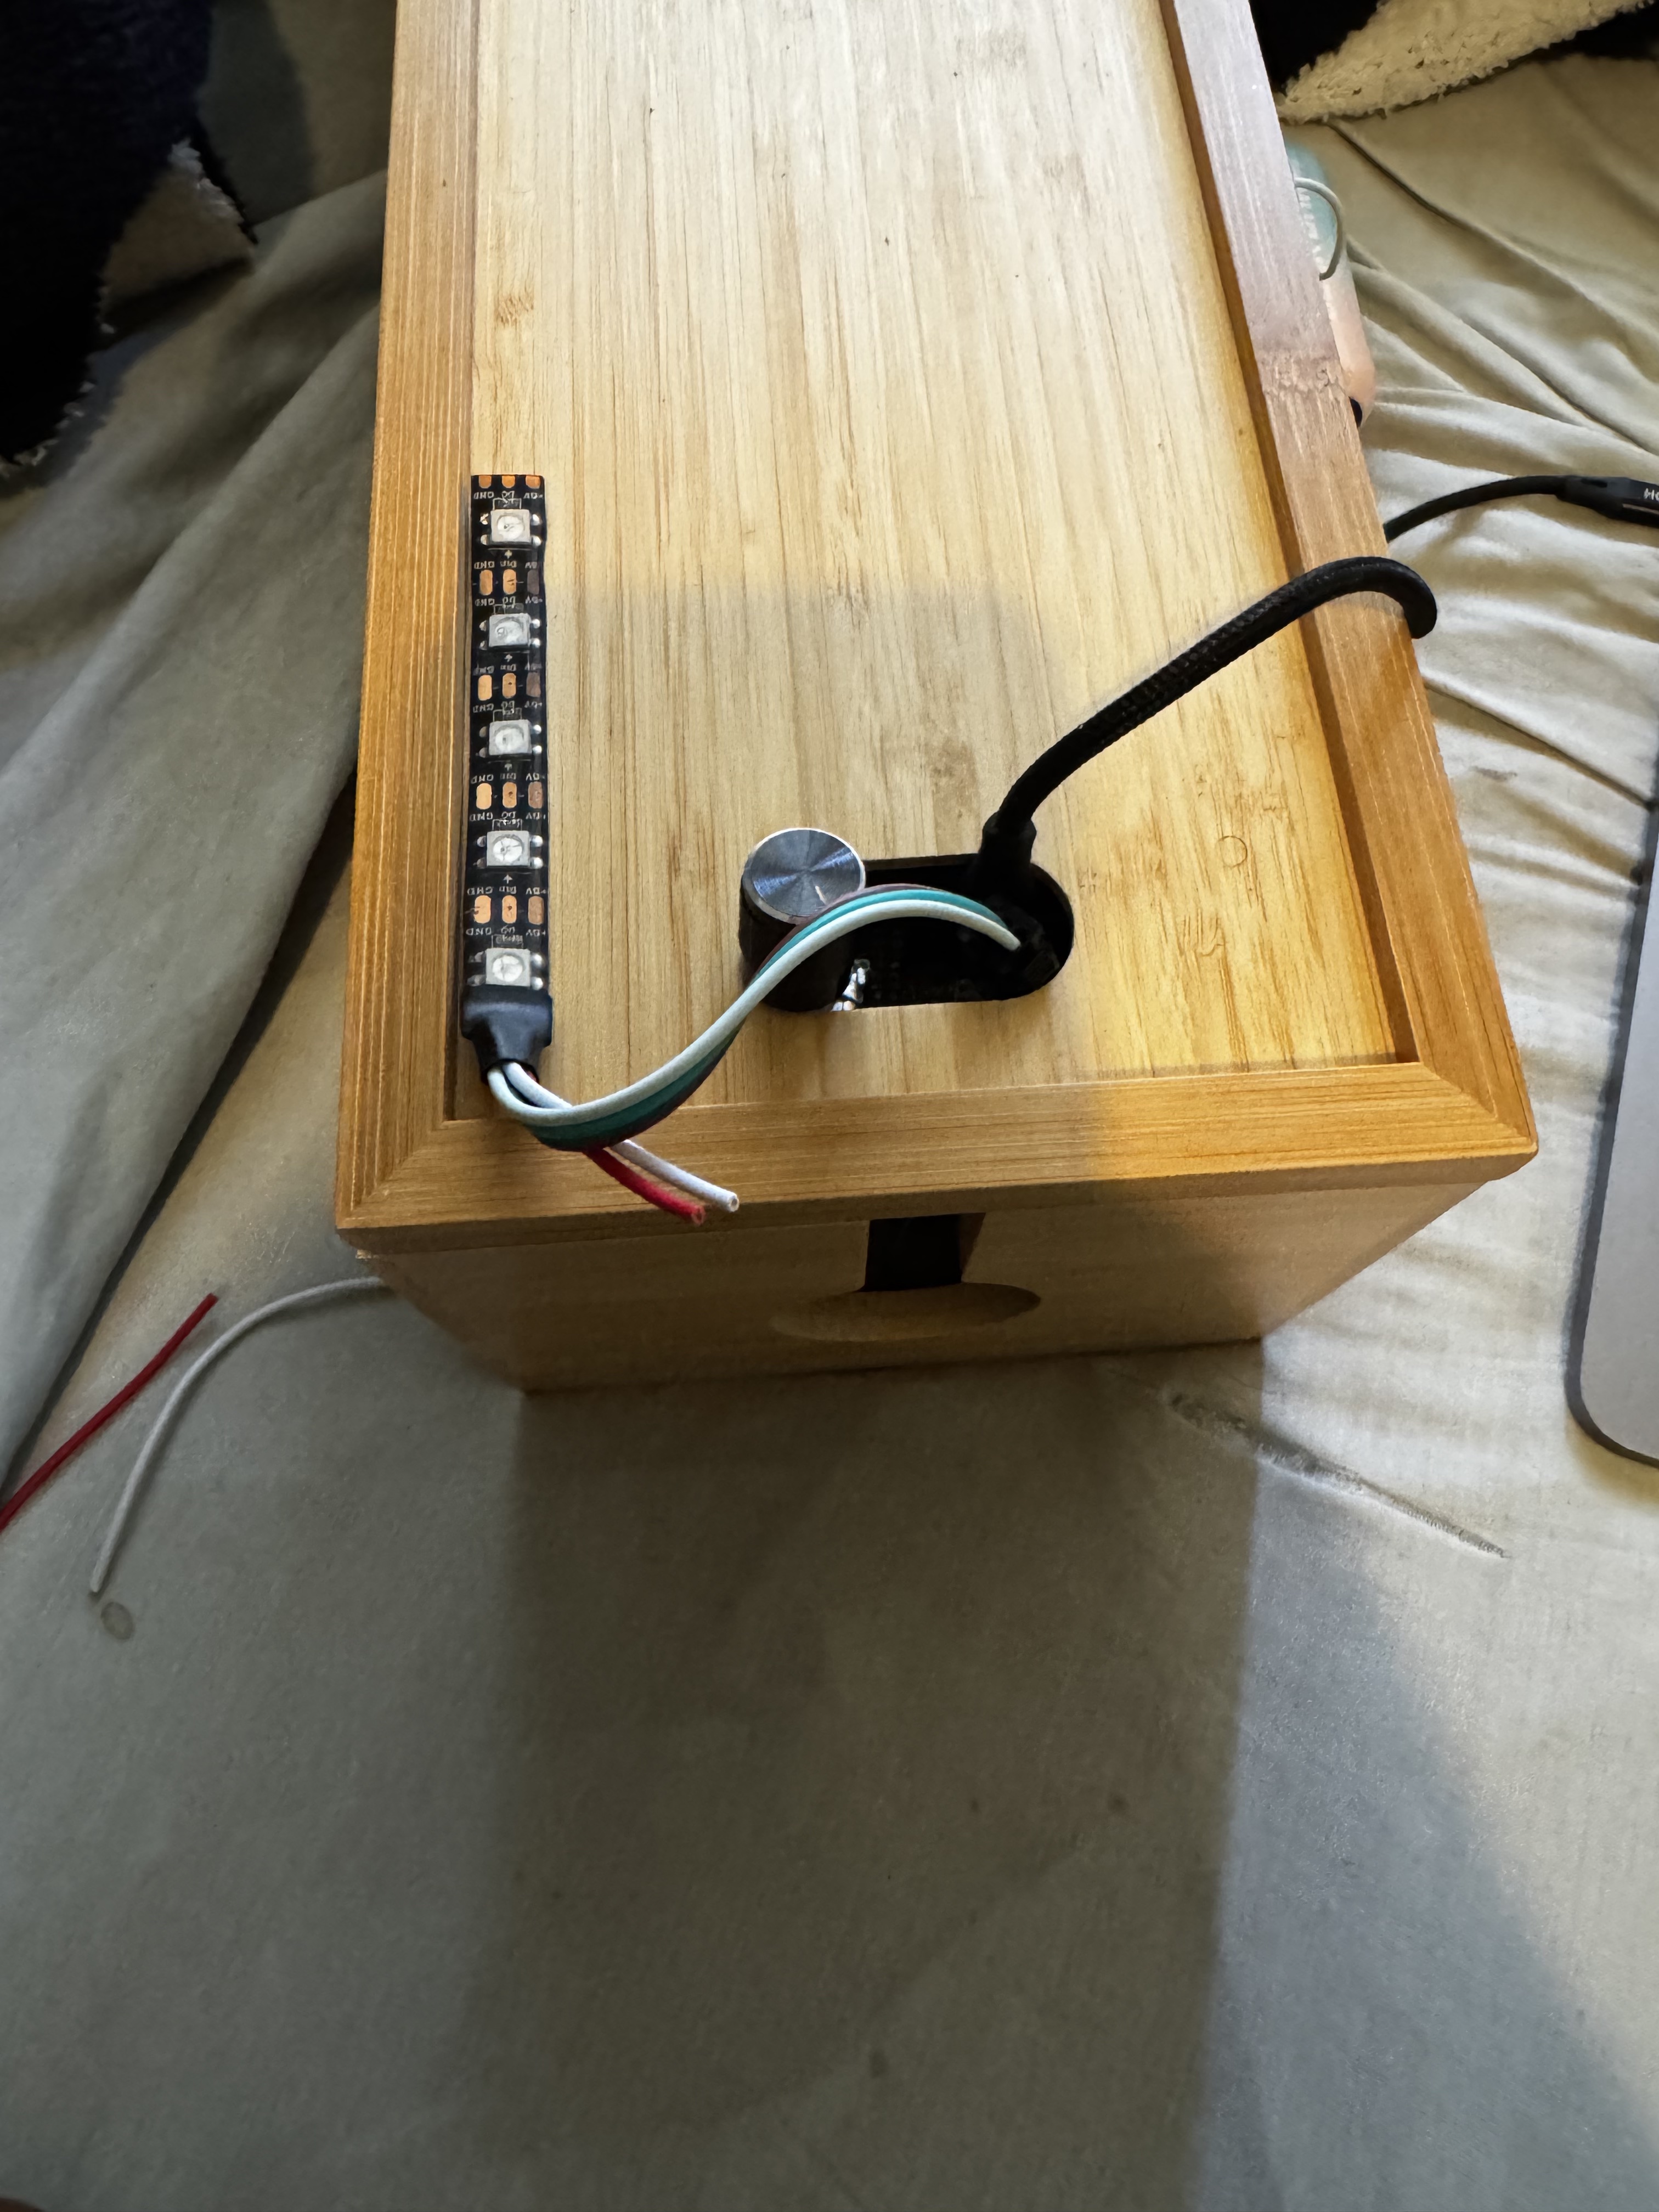
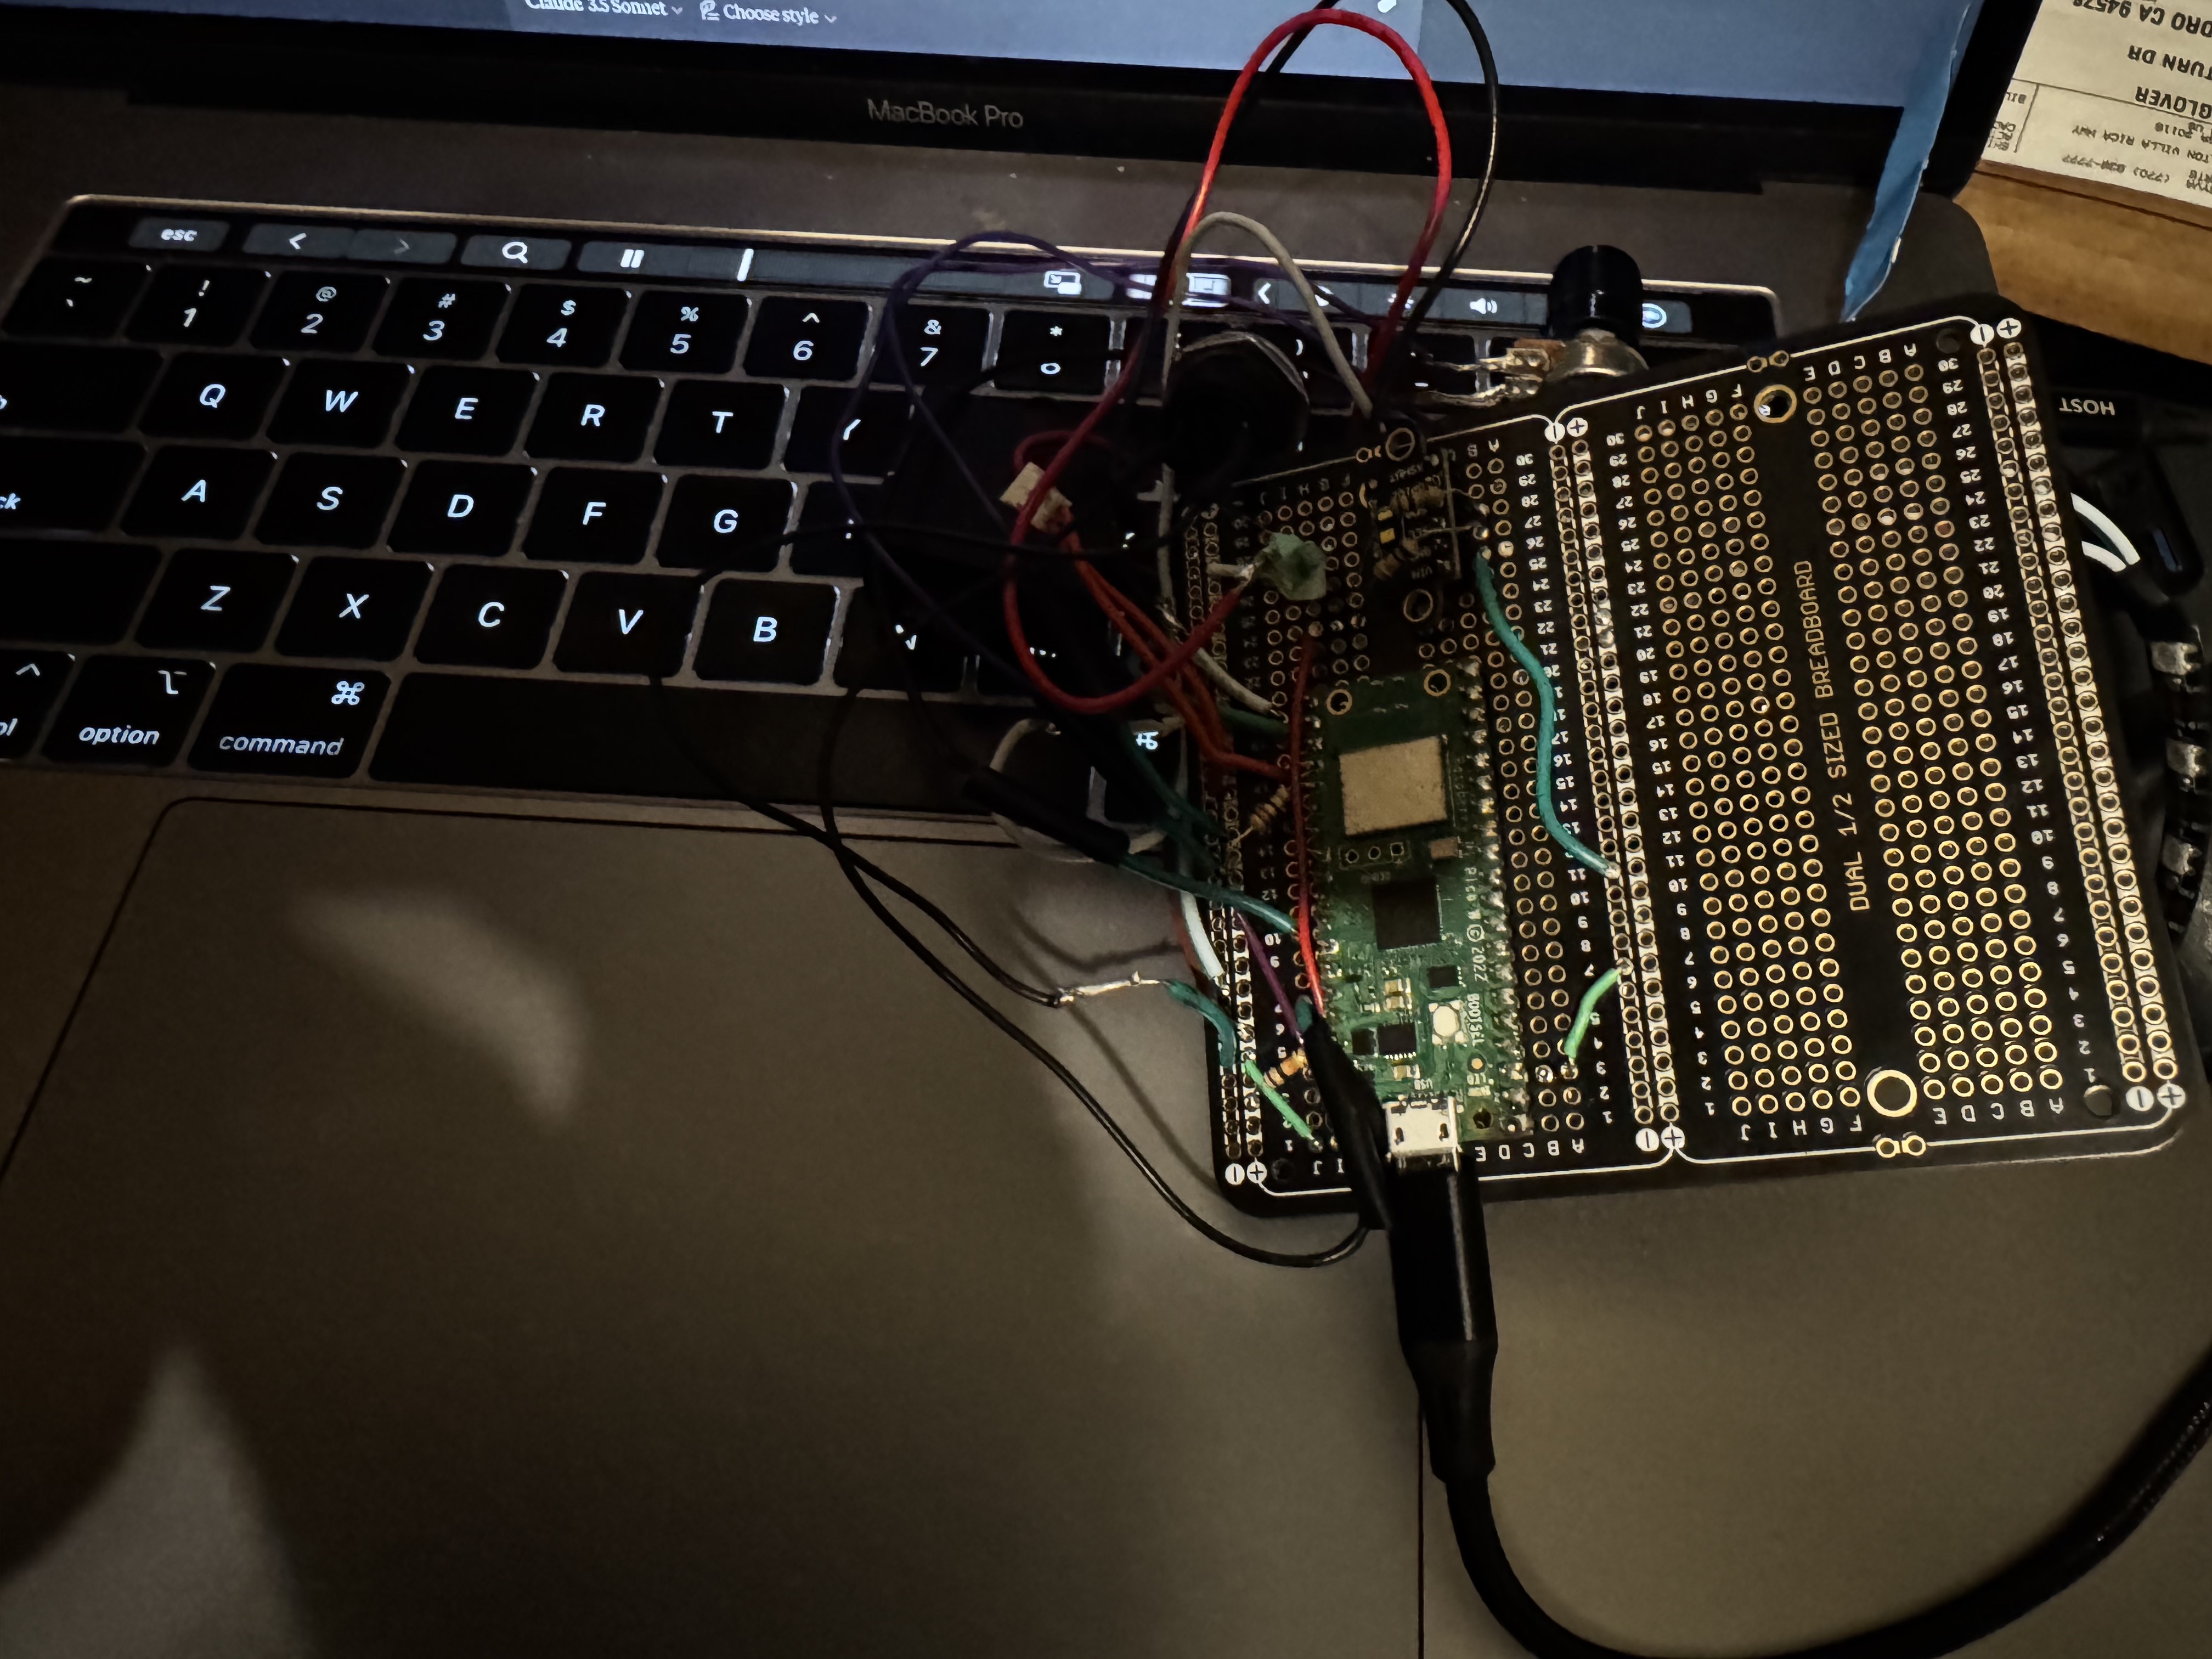
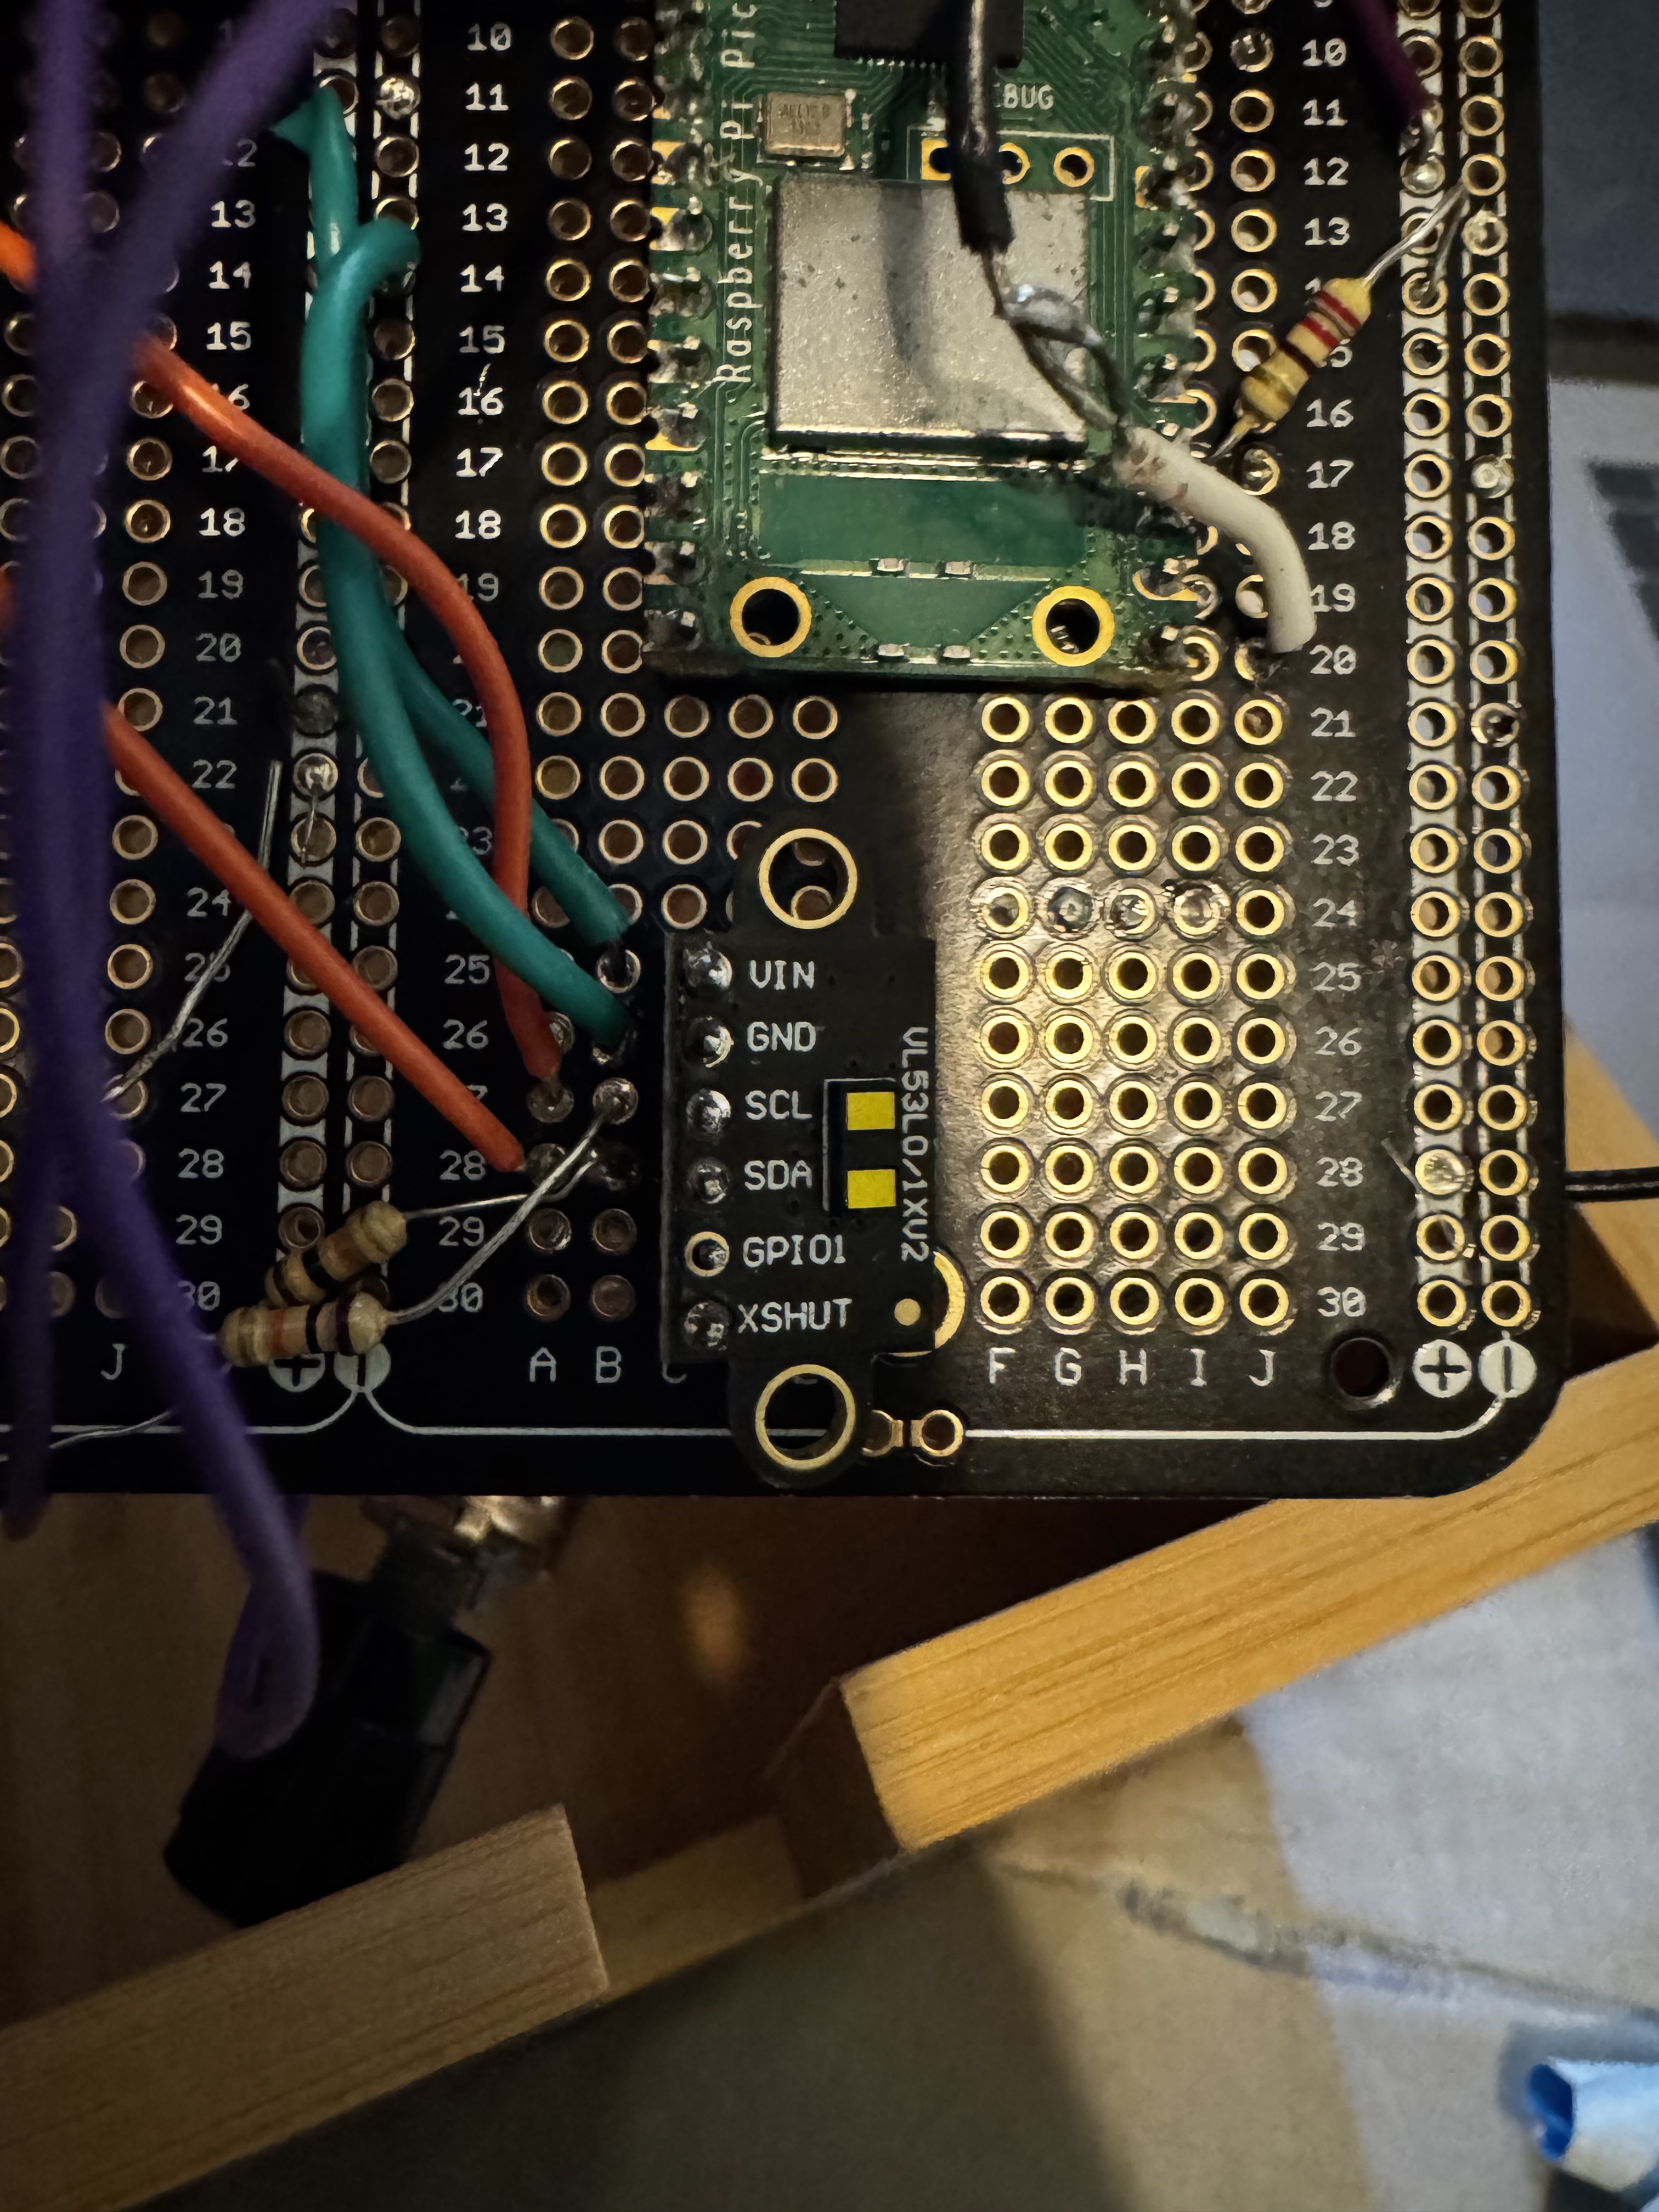
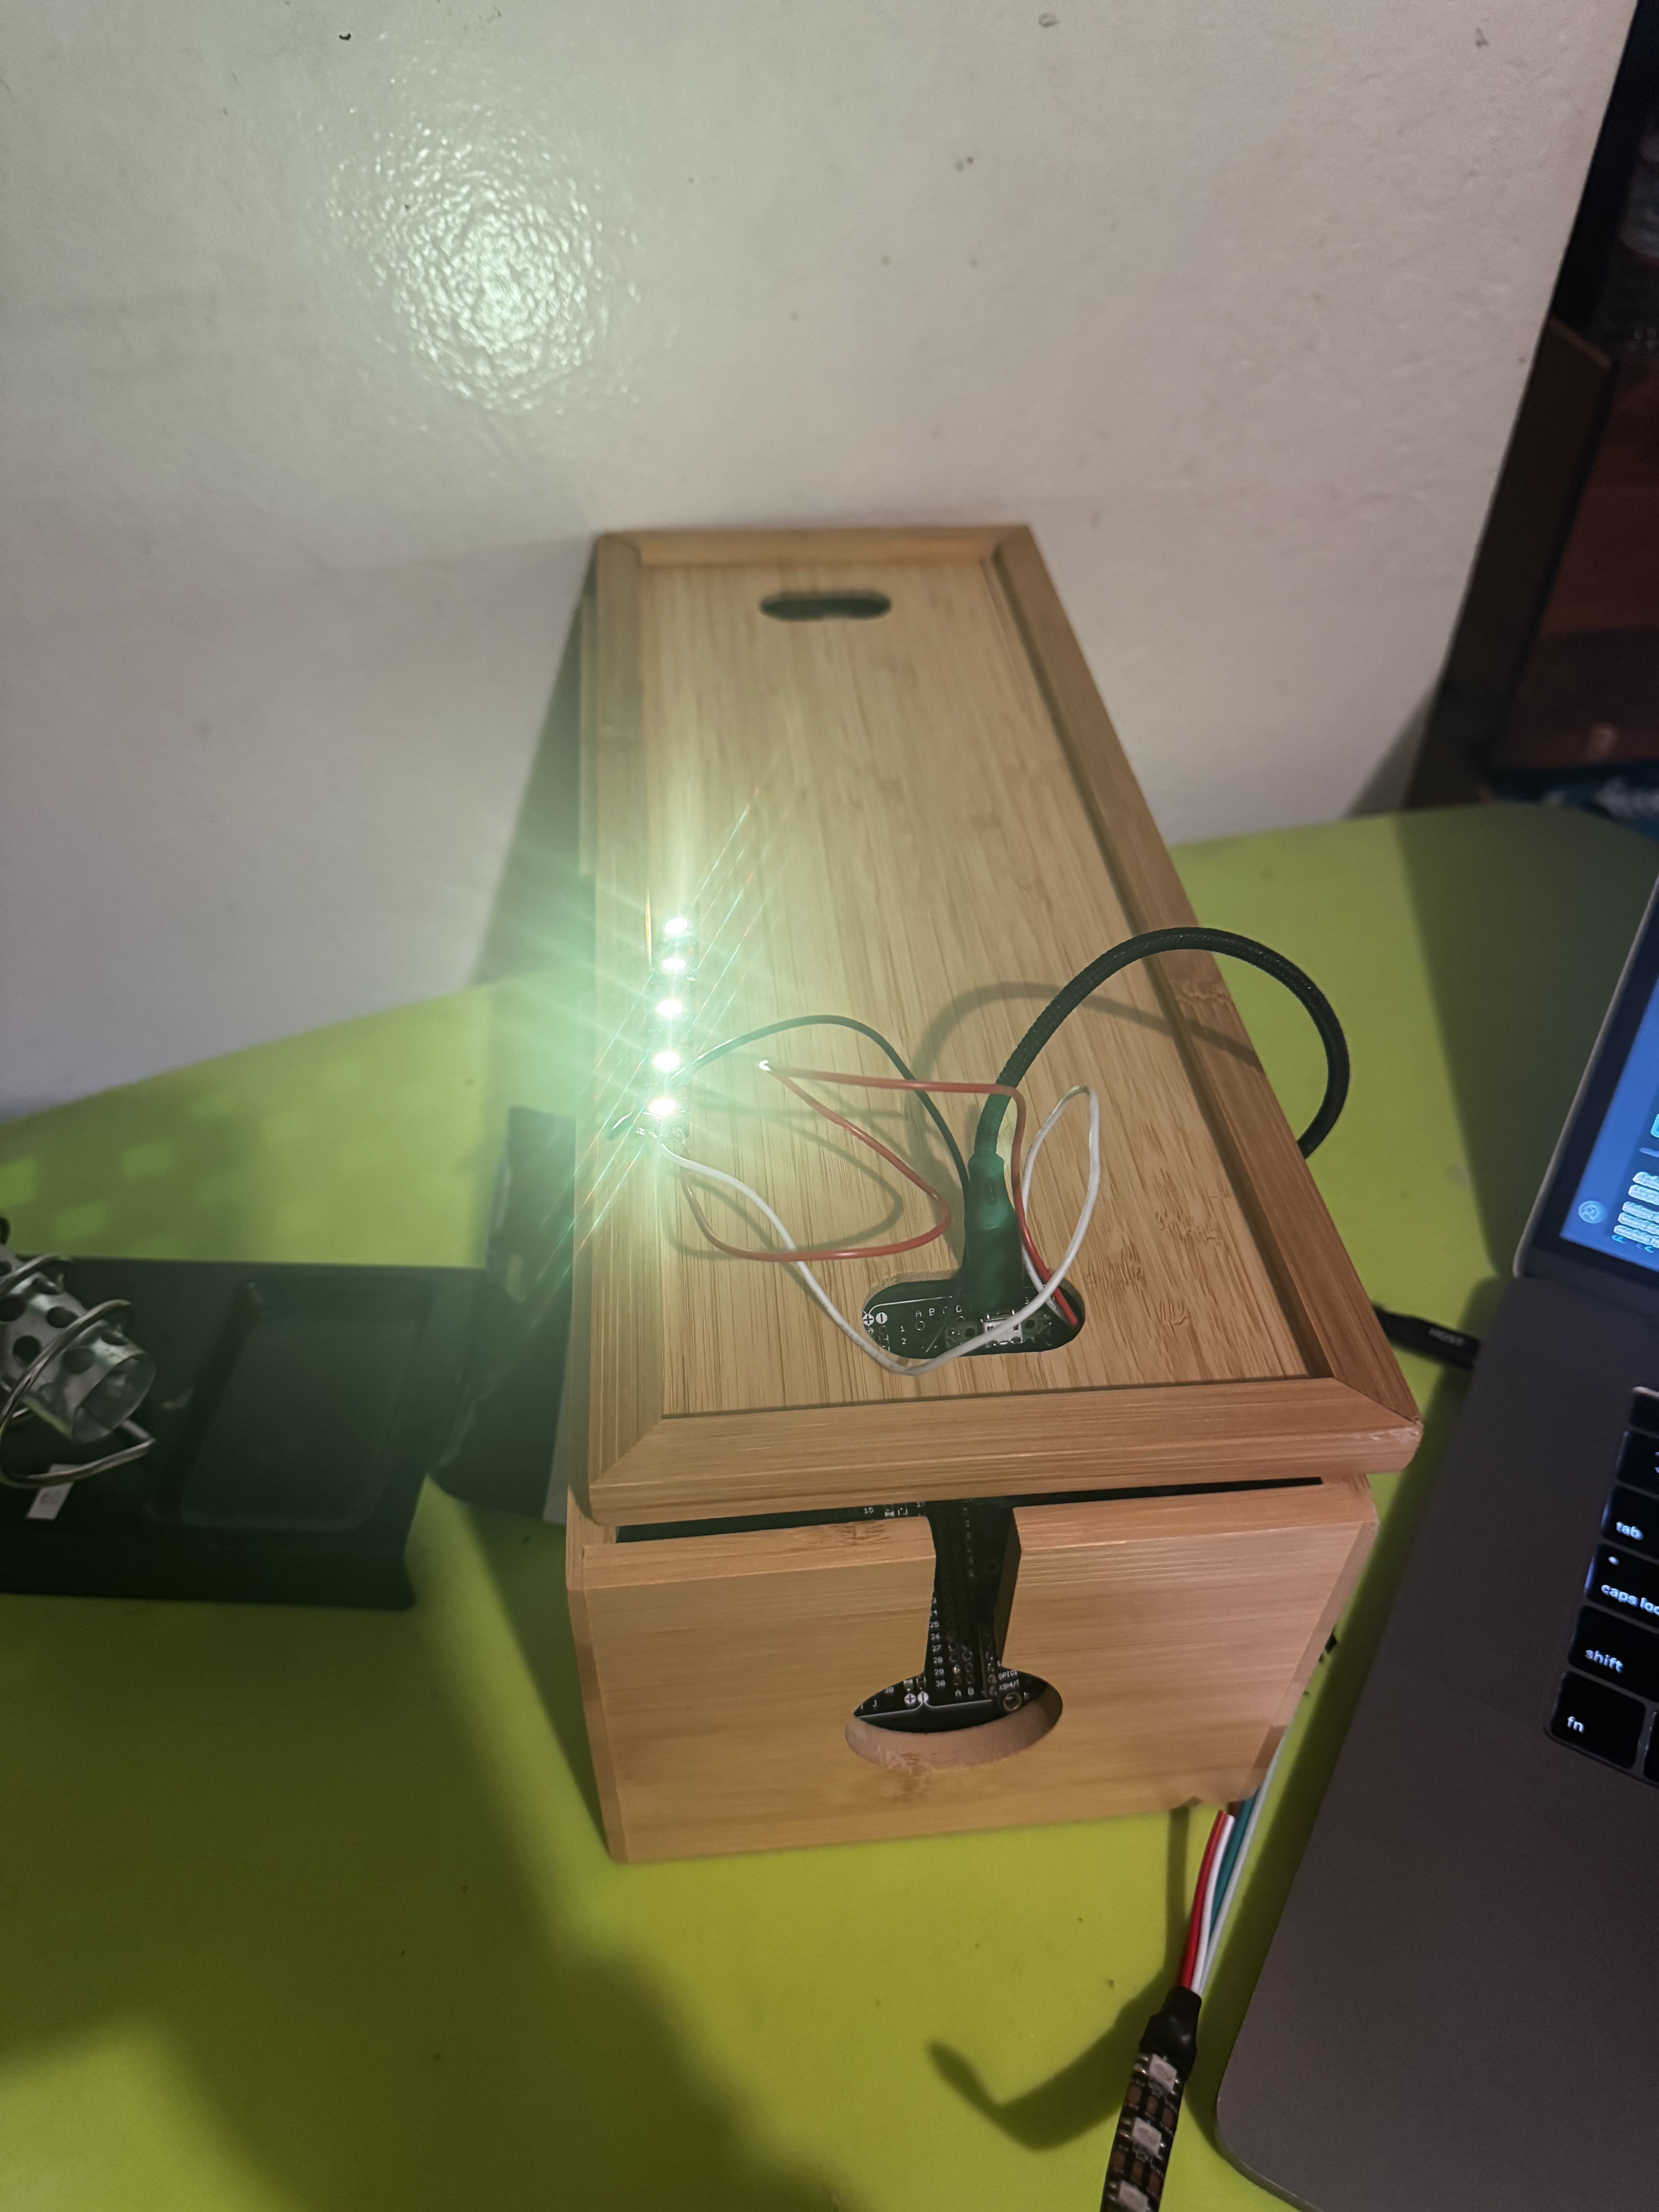
I attempted to use a VL53L0X and speaker output  to allow users to create music using distance.

Original Project Proposal

Step 1: Behavior Brainstorming5 Tasks/Behaviors to explore:
1. I want to examine the way people tap their fingers when listening to music
2. Explore the way people adjust lighting throughout the day
3. I would like to analyze how different people respond to various sound patterns
4. Movement patterns while working at a desk
5. How people interact with ambient light changes
Step 2 & 3: Parts Selection with Evaluation
1. Serial-based Sensors (Input):  
- MPU6050 Accelerometer/Gyroscope ($9.95 from Adafruit)     - Interest: High (can detect precise motion and orientation)     - Expense: Low     - Complexity: Medium     - Documentation: Excellent      
 - VL53L1X Time of Flight Distance Sensor ($19.95 from Adafruit)     - Interest: High (accurate distance measurement)     - Expense: Medium     - Complexity: Medium     - Documentation: Good
2. Serial-based Outputs:  
- NeoPixel LED Strip ($19.95 from Adafruit)     - Interest: High (versatile lighting effects)     - Expense: Medium     - Complexity: Low     - Documentation: Excellent      
 - DFPlayer Mini MP3 Player ($9.95 from SparkFun)     - Interest: High (audio feedback)     - Expense: Low     - Complexity: Medium     - Documentation: Good
3. Analog Input Sensor:  
- Sound Sensor/Microphone ($6.95 from SparkFun)     - Interest: High (detect environmental sounds)     - Expense: Low     - Complexity: Low     - Documentation: Good
4. Interesting Additional Gadgets:  
- Vibration Motor ($2.95 from Adafruit)     - Interest: High (haptic feedback)     - Expense: Low     - Complexity: Low     - Documentation: Good
 - Servo Motor ($12.95 from SparkFun)     - Interest: High (controlled movement)     - Expense: Low     - Complexity: Medium     - Documentation: Excellent
Project Idea: "Musical Motion Interpreter"Using Configuration Option
1:Components:- MPU6050 for motion sensing
- NeoPixel LED strip for visual feedback
- DFPlayer Mini for audio output- Sound sensor for ambient noise detection
- Vibration motor for haptic feedback

I want my final project to detect motion patterns (like conducting or finger tapping) using the MPU6050. The device will respond  to both intentional gestures and ambient environment which makes  an interactive loop between user movement and audiovisual feedback

Working tirelessly  in class December 18th 204.

Process

Dashboard icon

Code in Arduino

To start my project, I used Arduino and code given to me by Professor Durie to begin writing my code. I also researched on YouTube and used an Arduino Coding Guide which I found on the internet.

Radar icon

Peparing Perf Board

I started by soldering the Pico Pi W to my perfboard and proceeded with soldering jump wires next.

Magic icon

Assembly  

Mouse icon

Re-soldering connections

Data at your fingertips

Challenges

Zap icon

Challenges

During development, I faced several  technical challenges. The VL53L1X distance sensor initially presented communication issues, displaying 'Sensor not found on I2C bus' errors despite correct wiring. This led to a strategic pivot to focus on more reliable input methods. Another major hurdle was the 'USB Accessories Disabled' error with the Pico, which required specific troubleshooting steps including holding the BOOTSEL button while connecting and ensuring proper power delivery through the USB connection. Additionally, early prototyping revealed the importance of proper power management for the LED strips and speaker system, causing me to carefully consider power distribution across the perfboard .

#include <Wire.h>
#include <Adafruit_NeoPixel.h>
#include "Adafruit_VL53L1X.h"
#define LED_STRIP_PIN 16  // Just one strip on GP16
#define NUM_LEDS 5        // Limit to 5 LEDs to reduce power draw
// Create single LED strip object
Adafruit_NeoPixel strip(NUM_LEDS, LED_STRIP_PIN, NEO_GRB + NEO_KHZ800);
Adafruit_VL53L1X vl53 = Adafruit_VL53L1X(0);
void setup() {  Serial.begin(115200);  
Wire.begin();  
 // Initialize sensor  if (!vl53.begin(0x29, &Wire)) {    
Serial.println("Failed to find VL53L1X chip");  
 while(1);
 }
 // Start continuous distance measurements  vl53.startRanging();
 // Initialize LED strip with reduced brightness  strip.begin();  
strip.setBrightness(50);  // Reduce brightness to 50/255 to save power  
strip.show();}
void setStripColor(uint8_t r, uint8_t g, uint8_t b) {  for(int i = 0; i < NUM_LEDS; i++)
{    strip.setPixelColor(i, r, g, b);  }  strip.show();}
void loop() {  if (vl53.dataReady())
{    int distance = vl53.distance();        // Print distance for debugging    
Serial.print("Distance (mm): ");    
Serial.println(distance);
   // Map distance to LED colors  
 if (distance < 200) {      setStripColor(255, 0, 0);  // Red for close    }    
else if (distance < 500) {      setStripColor(0, 255, 0);  // Green for medium    }  
 else {      setStripColor(0, 0, 255);  // Blue for far    }
   vl53.clearInterrupt();  }  
delay(50);}

Arduino Code

Artist Statement

Overall, this assignment was easily one of the most challenging and rewarding assignment I have completed for my degree. This interactive light and sound installation explores the relationship between human input and machine response through a performative interface. Using LED strips, sound generation, and potentiometer control, the project creates an immersive experience where users can physically manipulate light patterns and sound frequencies. I drew inspiration from both musical instruments and light art installations, creating a bridge between traditional performance tools and modern digital interfaces. Though the VL53L1X distance sensor integration proved challenging, the project evolved to focus on direct human interaction through the potentiometer, which created a more controlled performance experience.
Kwame Glover